
RETECHNOLOGY PREMIUM MARKETPLACE RELATED PRODUCTS | WEBINARS | SPECIAL OFFERS


You are viewing our site as an Agent, Switch Your View:
Agent | Broker Reset Filters to Default Back to ListProfessional Looking Photos Don't Have to Cost a Fortune: Smartphone Photography
March 20 2017

Not long ago, you either had to have a professional grade camera (along with the knowledge of how to use it) or hire a professional photographer to take your listing photos to compete with the images you see in magazines and on the web. Thanks to the advancement of today's mobile technology, you can take and edit professional looking images on your phone.
Taking great photos on your mobile device isn't just point and shoot; some skill is required. However, there's no secret to amazing photos; with just a few tips and tricks, you can capture the perfect image and add the finishing touches right from your phone.
Clean Your Lens
This might seem like a given, but you would be surprised at how many people post blurry images due to oil residue or dust particles that have collected on their lens. Your phone is constantly traveling between your pocket, purse, or bags; the lens is being touched; makeup and other things are falling on it, and even the oil from your hands creates a film on it. Keep a glass wipe handy and wipe the lens before using the camera.
Composition (Using Gridlines)
Rule of Thirds
By turning on your camera's gridlines (which can be found in the settings section in almost all mobile devices), you will enable a series of lines (two vertical and two horizontal) superimposed on your screen which will separate your image into nine sections. The "rule of thirds" is a photography principle that states that by placing focal points along the intersecting lines, your photo will appear more balanced, leveled, and create a more natural flow throughout the image.
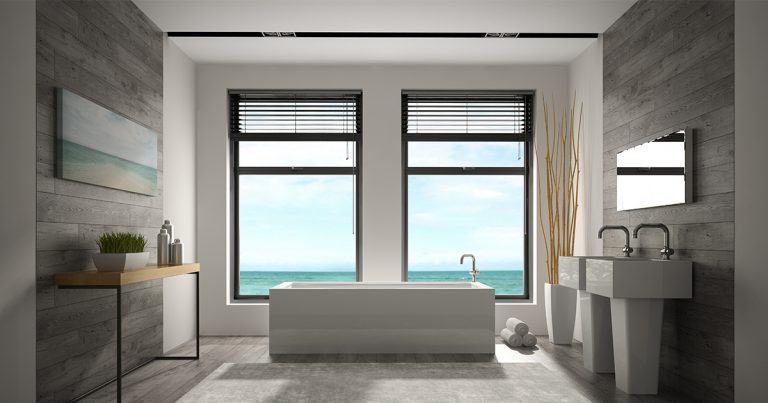
Creating Symmetry
Using gridlines to create symmetry in your photos will give the images a greater sense of balance. Symmetry is a great way to showcase a grand staircase, a beautiful backyard framed by french doors, a newly renovated bathroom, or the stunning entryway of your listing.
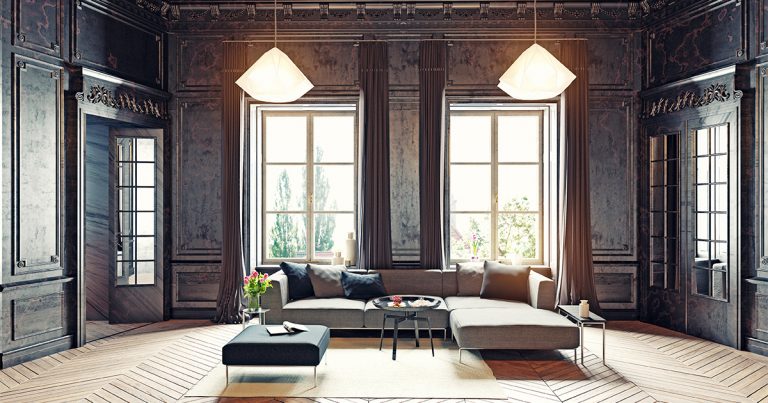
Using Negative Space
Negative space is the area around a subject or item in an image. You can make the focal point within an image stand out by using the empty space surrounding it to draw the attention of the viewer. This technique is perfect for highlighting features like chandeliers, doors, and fireplaces.

The Right Angle
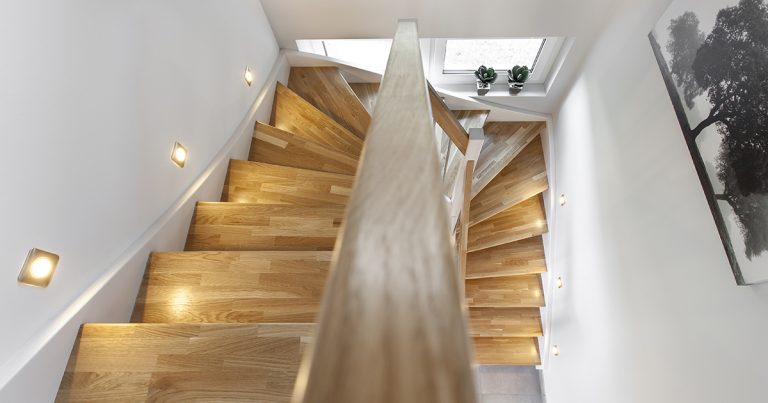
It's All about Perspective
Certain rooms, stairs, and hallways within homes are small and awkwardly shaped. Photos for these rooms need to be taken from a different perspective. The proper perspective will create the illusion of greater depth and height, giving the viewer an overall sense of a larger room, while showing all the details of the space.
External Lenses
You may need a little more help to achieve the proper perspective for some spaces in a listing. You can change the perspective and angle of your camera by attaching an external lens to your phone. For tiny rooms or loft style condos where you want to grab the complete layout, a fisheye or wide-angle lens will let you capture the entire room without compromising certain areas or needing to take multiple photos to showcase the room(s).

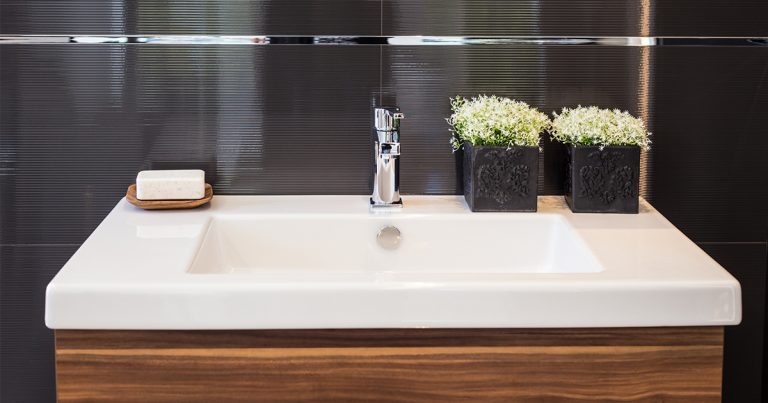
Up Close and Personal
You may be tempted to use the camera's zoom to capture details when taking photos from afar or to focus on small details in flooring, lighting, paneling, or counters. However, by zooming in, your images tend to get pixelated and blurry, creating bad quality photos. If you want to focus on certain features of the home, don't be afraid to get close and snap the picture, giving you the best quality image. If the image still feels like you need to zoom in a little more to cut out other features or grab more detail, then use the crop tool to remove unwanted items from the photo. By cropping the image, you do not compromise the quality.
Let the Light Shine
Using the flash in photography creates harsh highlights and shadows, creating overexposure and unnatural colors. On reflective surfaces, the flash will bounce back and appear in the photo. The best solution for this is to use natural light. When possible, plan your photo shoot for times when natural light is available and try taking your photos from different angles to find the best lighting. Buying a circular reflector disk (averaging $10 and up) will help you manipulate the natural light to areas where it is scarce. In certain rooms, natural light is hard to come by or non-existent and lighting from fixtures isn't the best. By investing in some lighting equipment (averaging $60 and up on Amazon), you will be able to light up any room of the house and create the perfect lighting.
Editing Power
Taking your photo is the first step to creating the perfect listing photo. The second step is to edit your photos. Thanks to the thousands of apps found on any app store, you have the power to retouch photos like an expert. Here are four photo editing apps that you need to have in your arsenal.
- Adobe Photoshop Express (iOS, Android) – This is a simplified version of the most used photo editing computer software. Adobe Photoshop Express gives users the freedom to adjust color, tones, contrast, exposure, highlights, shadows, lighting, and more. Auto-fix images with the tap of a button. You can even sync photos on the app with the computer program for even more editing power from your computer or laptop.
- Camera360 (iOS, Android) – With over 200 filters available, Camera360's most impressive feature is being able to play with the lighting of photos through the use of filters and manual adjust settings.
- Darkroom (iOS) – Darkroom has all the standard editing tools like crop, brighten, saturate, fade, and add filters, but what makes it special is its infinite "undo" history. This is a great feature to have when learning how to edit photos.
- SnapSpeed (iOS, Android) – With over 25 tools and filters, SnapSpeed allows you to crop photos freely or to use eight pre-set ratios (which include social media post specs). You can white balance photos to adjust the colors so your image looks more natural, add text, remove items, and change exposures, just to name a few of the many features.
Now you are ready to take pictures of all your property listings, show them off, and feel confident that they will measure up to other listing photos—professional or otherwise.
To view the original article, visit the Homes.com blog.